Email: sales@sunnyhillgunparts.com | Phone: 920-898-4707
Support For Current Product Owners
As a valued customer, we strive to ensure your complete satisfaction with your Sunny Hill products. Here you will find basic how-to and proper maintenance information.
If you have any questions, phone me at 920-898-4707. I will attempt to walk you through the process.
Andy Huebschmann, President
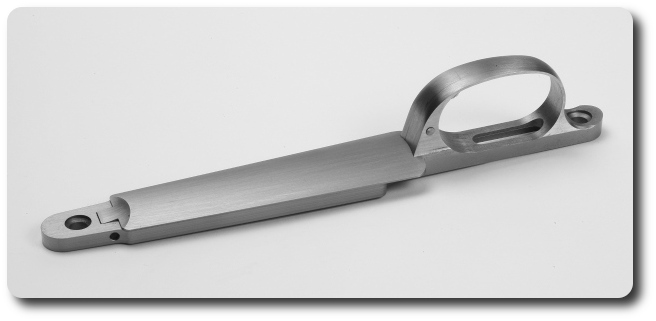
#400 Floorplate, Replacement for the 1909 Argentine Mauser Floorplate
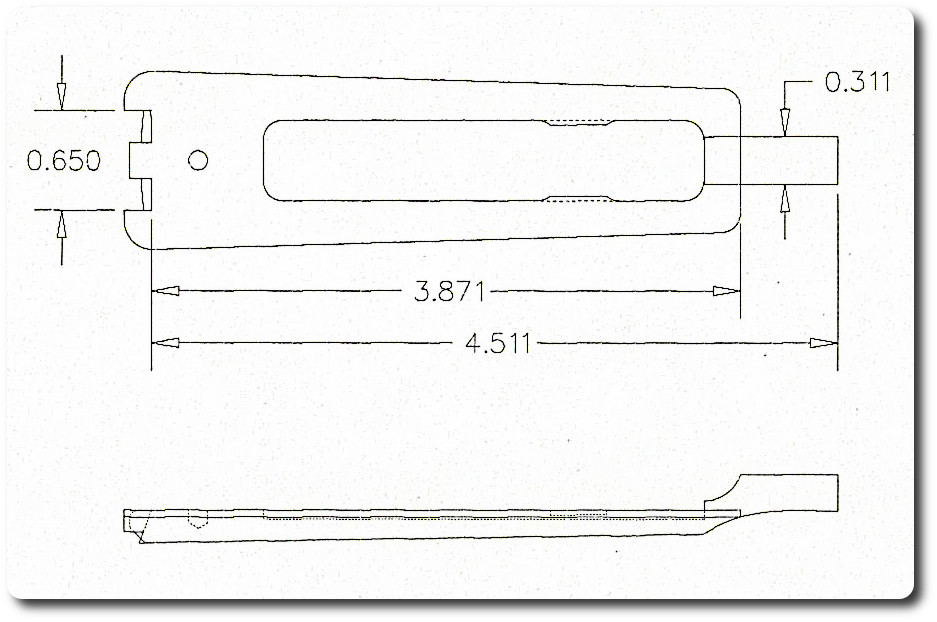
Instructions for installation
- (Optional) Dress the front and outside of the guard bow to remove any imperfections.
- Remove the latch from the guard bow.
- Shorten floorplate tang until floorplate rests fully on the bottom surface of the magazine box. Be sure that there is no gap between front of guard bow and mating surface of floorplate. Shortening the floorplate tang at an angle similar to the original is recommended.
- Assemble latch and floorplate with trigger guard assembly. If too much material has been removed from floorplate tang, shim between front of the floorplate tang and notch in the magazine box with a strip of paper (to push the floorplate tightly against front of bow).
- Drill the hinge pin hole through the floorplate tang. Install the hinge pin.
- Remove material from the bottom of the guard bow latch to allow the latch to seat flush with the outside of the bow.
- In some applications, it may be necessary to remove some material from the front of the floorplate to allow it to pivot open fully. Carefully file the shoulder back and reshape the radius on the two front corners.
All Post 64 Model 70 Trigger Guard Assembly
We would like to make a couple of suggestions to help you utilize the Post 64 Model 70 Trigger Guard Assembly
- Grind about 1/8" off of the bottom of the sheet metal magazine box. We found that if you grind until the notches in the front and back are nearly removed you will have approximately the correct magazine depth.
- We also suggest TIG welding the magazine box to the Guard Assembly prior to bluing. A small weld at the rear corners should be sufficient to hold them together.
- It may be necessary for your gunsmith to either widen the trigger slot to accommodate the new trigger, or narrow the trigger to fit through the slot (like the Pre '64 Model 70).
- Shorten guard screws as necessary.
If you have questions, please contact us:
Via Email: sales@sunnyhillgunparts.com
Via Phone: 920-898-4707